Content Library
Upload, organize, and share sheet music, recordings, videos, and teaching resources with your students.
⏱️ 8 min read
1
Exploring Your Content Library
Navigate to Content Library > Browse Library from the sidebar to see all your teaching materials. Your library supports multiple content types including sheet music, video lessons, audio recordings, exercises, and articles. Use the search bar and content type filters on the right to quickly find what you need. Toggle between Grid and List views based on your preference.
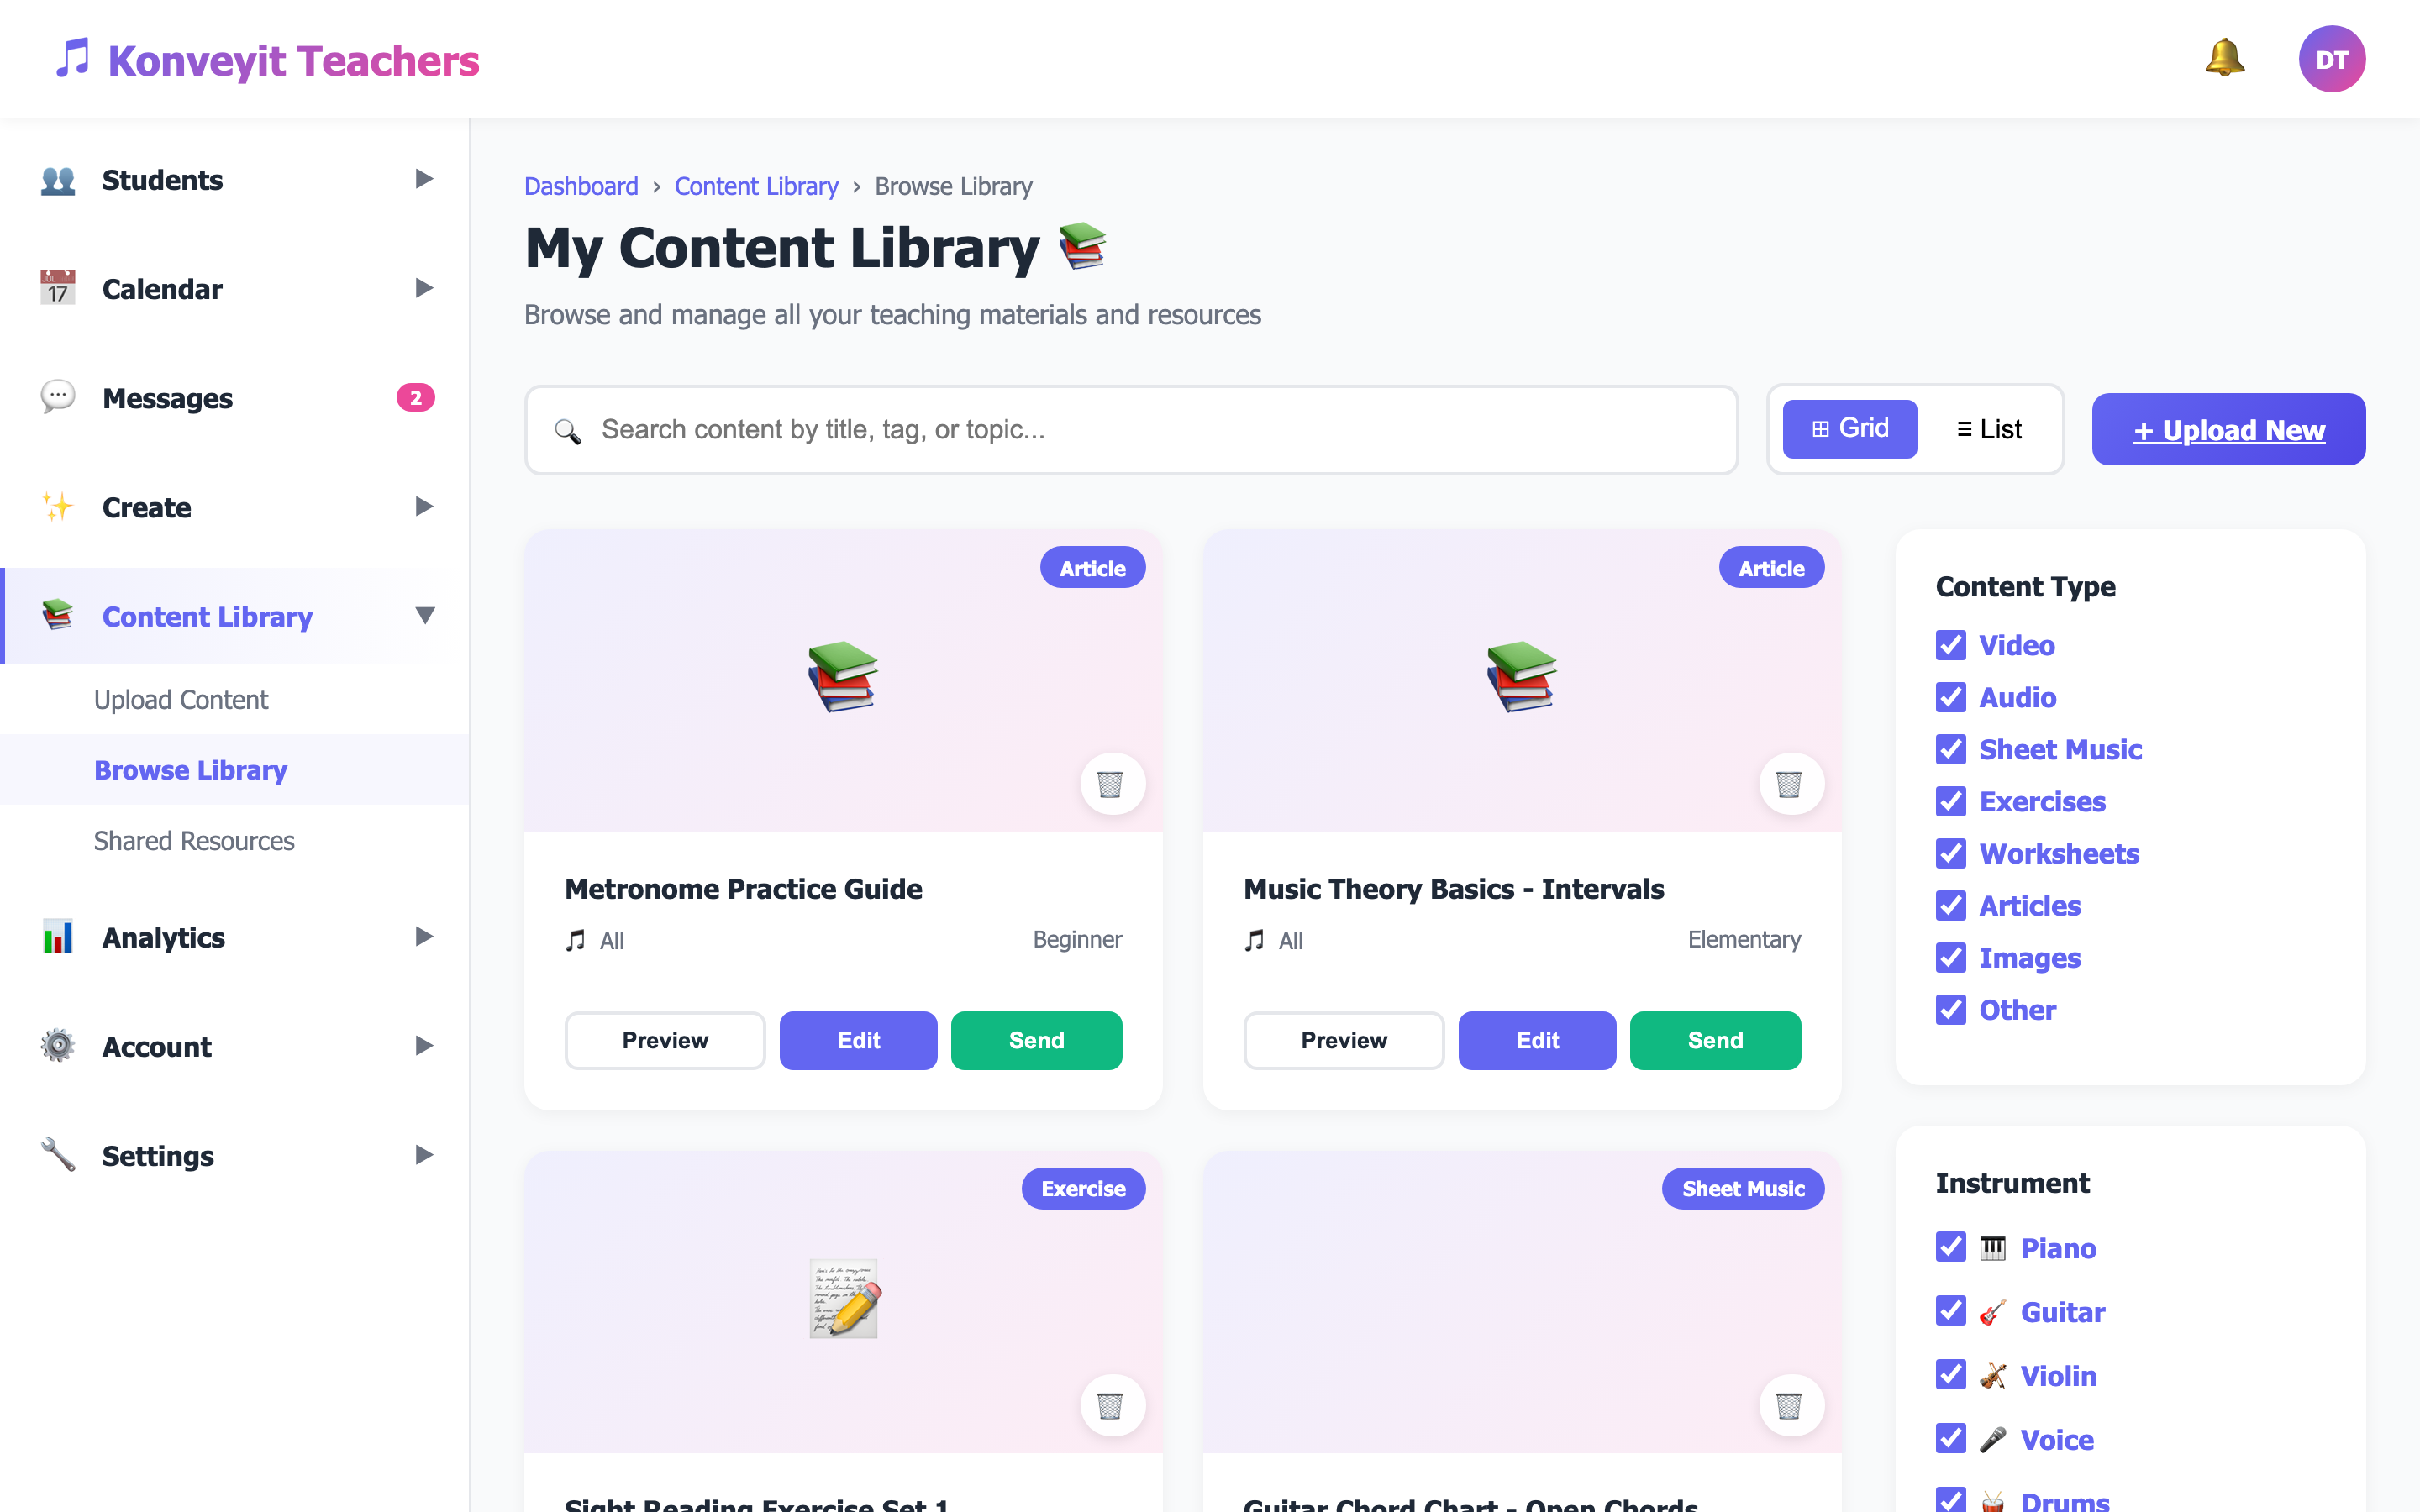
Tip: Use the instrument filter on the right sidebar to quickly narrow down content for specific students or instruments.
2
Uploading Content
Go to Content Library > Upload Content to add new materials. You have two upload methods: drag and drop a file directly (supports PDF, MP3, MP4, MIDI, images, and documents up to 5GB), or paste a YouTube link to embed a video. Fill in the Content Title, select the content type, add tags, and set the difficulty level.
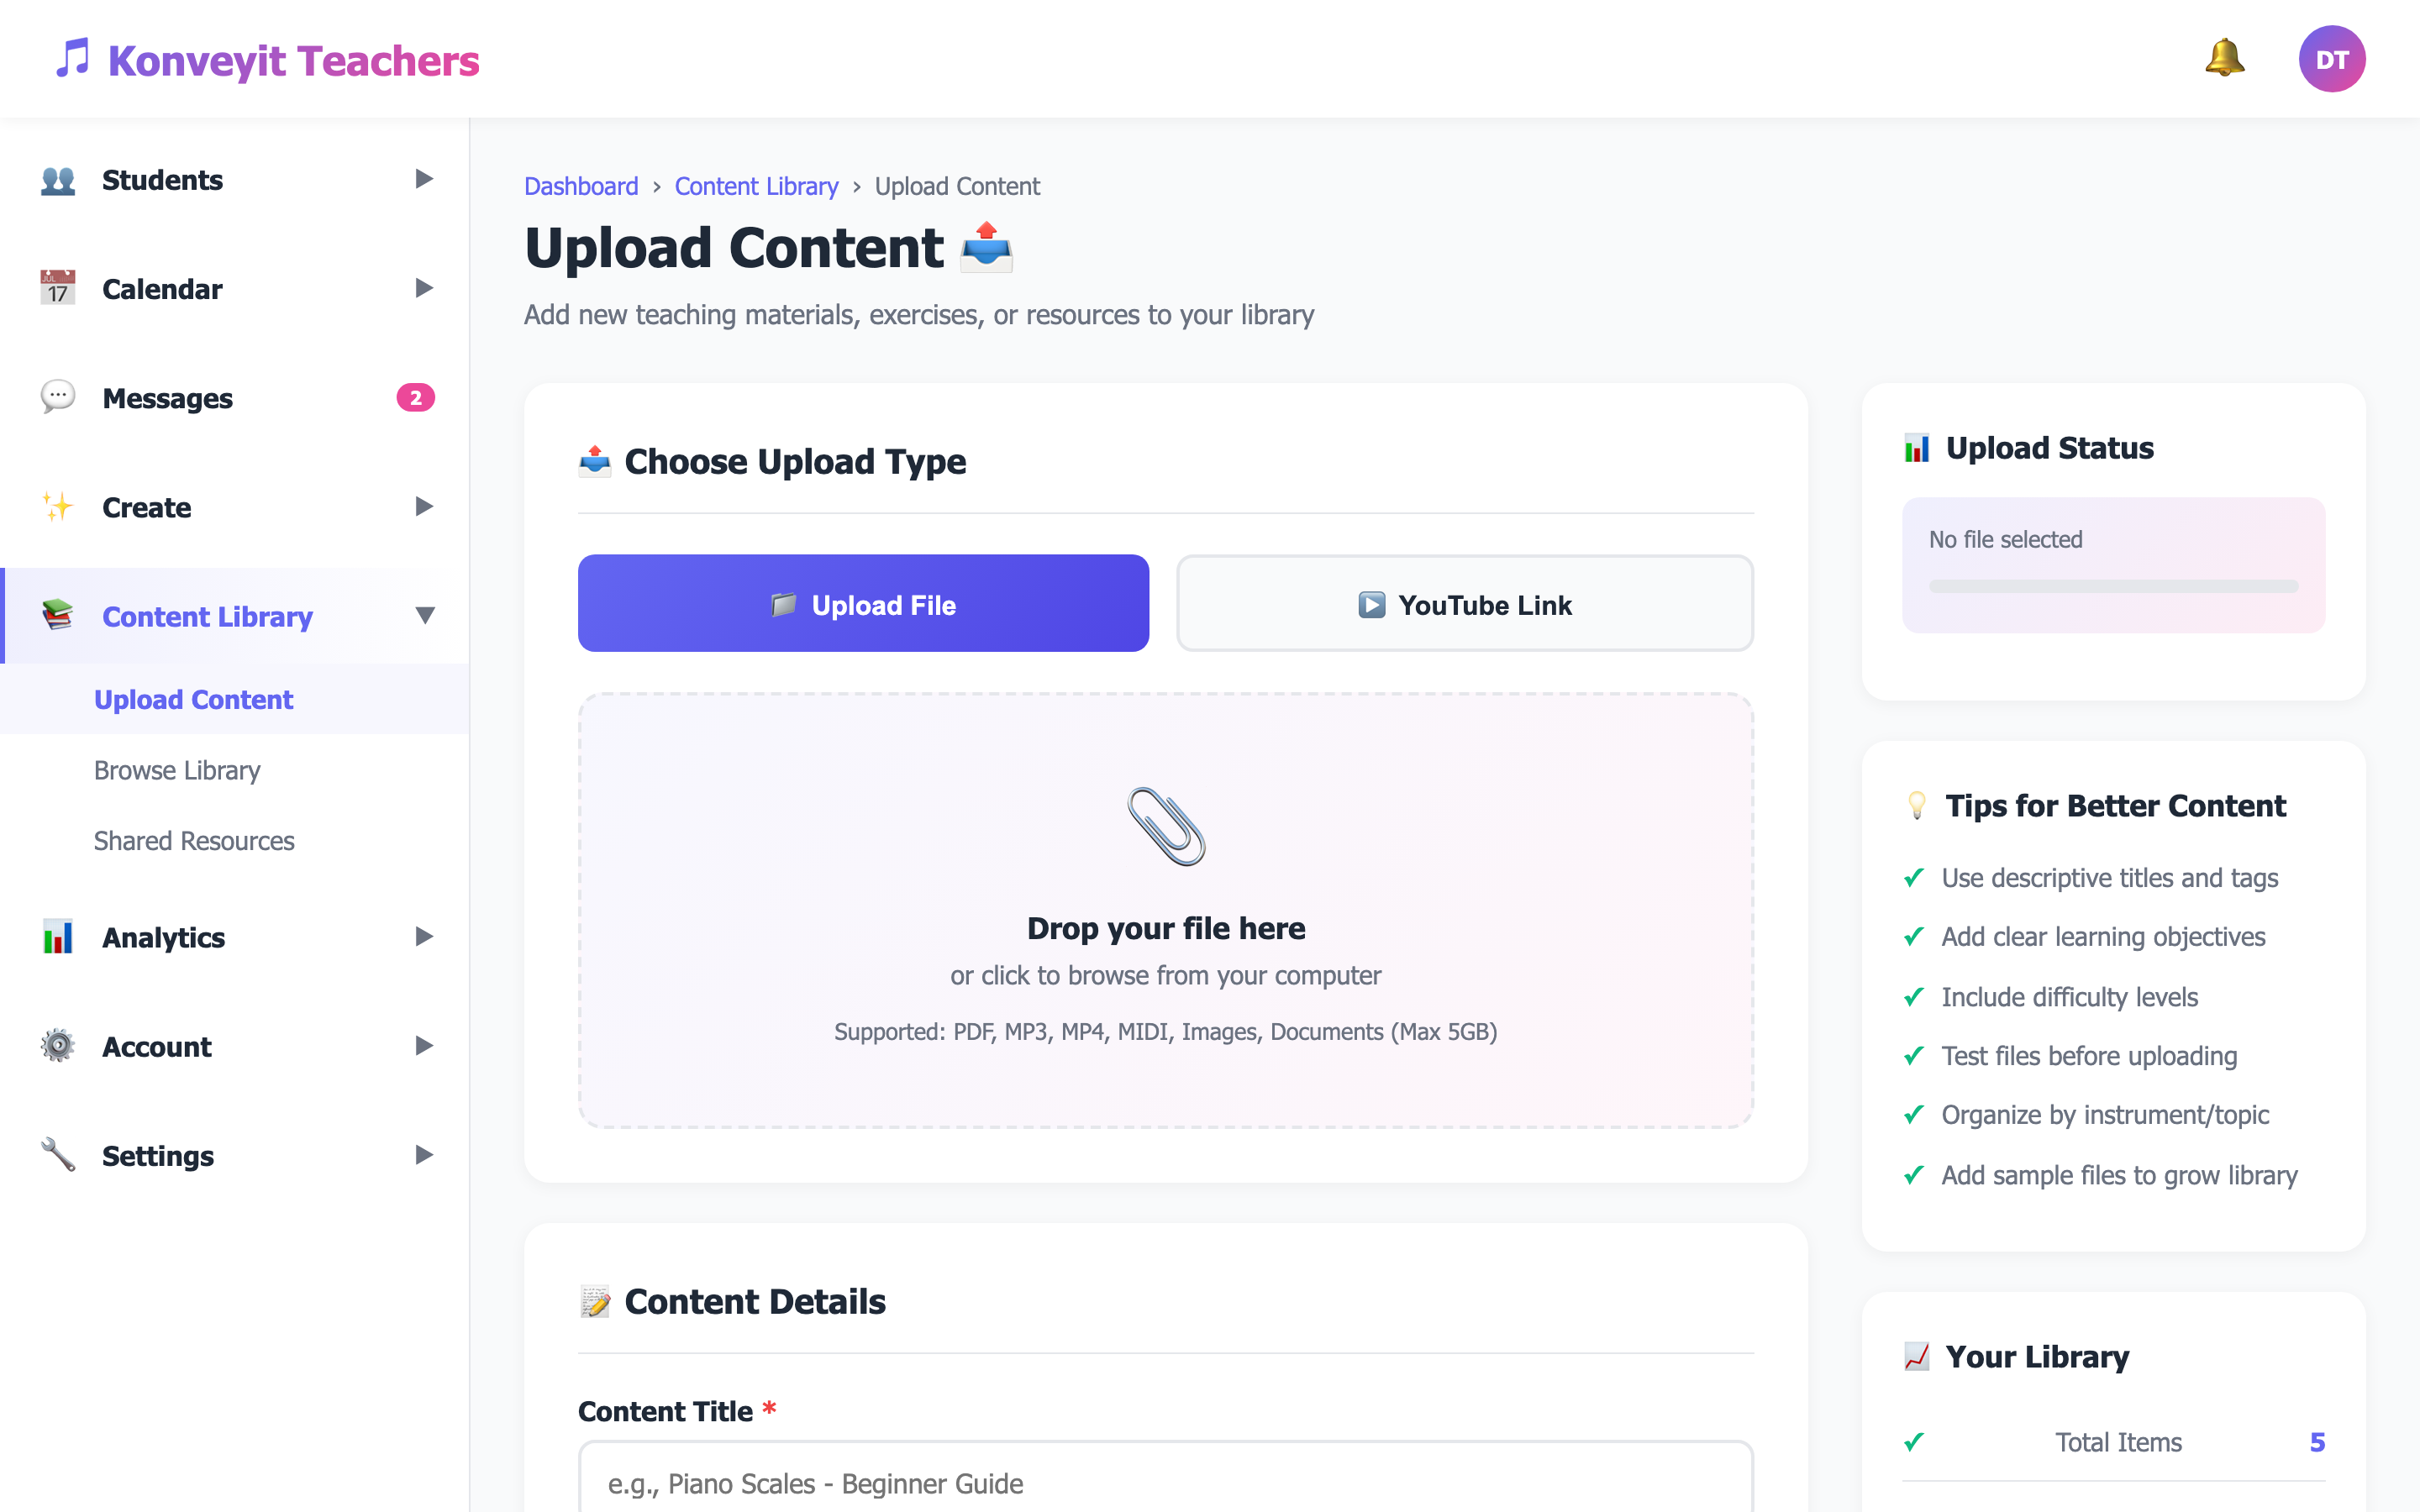
Tip: Use descriptive titles and tags — this makes content much easier to find later when you have a large library.
3
Supported Content Types
The Content Library supports a wide range of teaching materials. You can upload Video files (MP4, MOV — great for recorded lessons and demonstrations), Audio files (MP3, WAV, MIDI — for backing tracks, recordings, and examples), Sheet Music (PDF files — the most common format for printed music), Exercises and Worksheets (PDF, DOCX — for practice drills and theory work), Articles (text-based teaching resources), and Images (JPG, PNG — for diagrams, fingering charts, etc).
Tip: For YouTube videos, just paste the URL and the platform will automatically embed it with a thumbnail preview.
4
Managing and Editing Content
From the library grid, each content item shows a preview card with the content type badge, title, difficulty level, and action buttons. Click "Edit" to update the title, description, tags, or difficulty level. Click "Preview" to view the content directly. The "Send" button lets you share content directly with specific students.
Tip: Organize your content by instrument and difficulty level to quickly build lesson plans and assignments.
5
Sharing Content with Students
Share resources directly with your students by clicking the "Send" button on any content item. You can select individual students or share with all students. Shared content appears in the student's Resources section of their portal. You can also attach content items to Practice Assignments and Lesson Plans for structured learning.
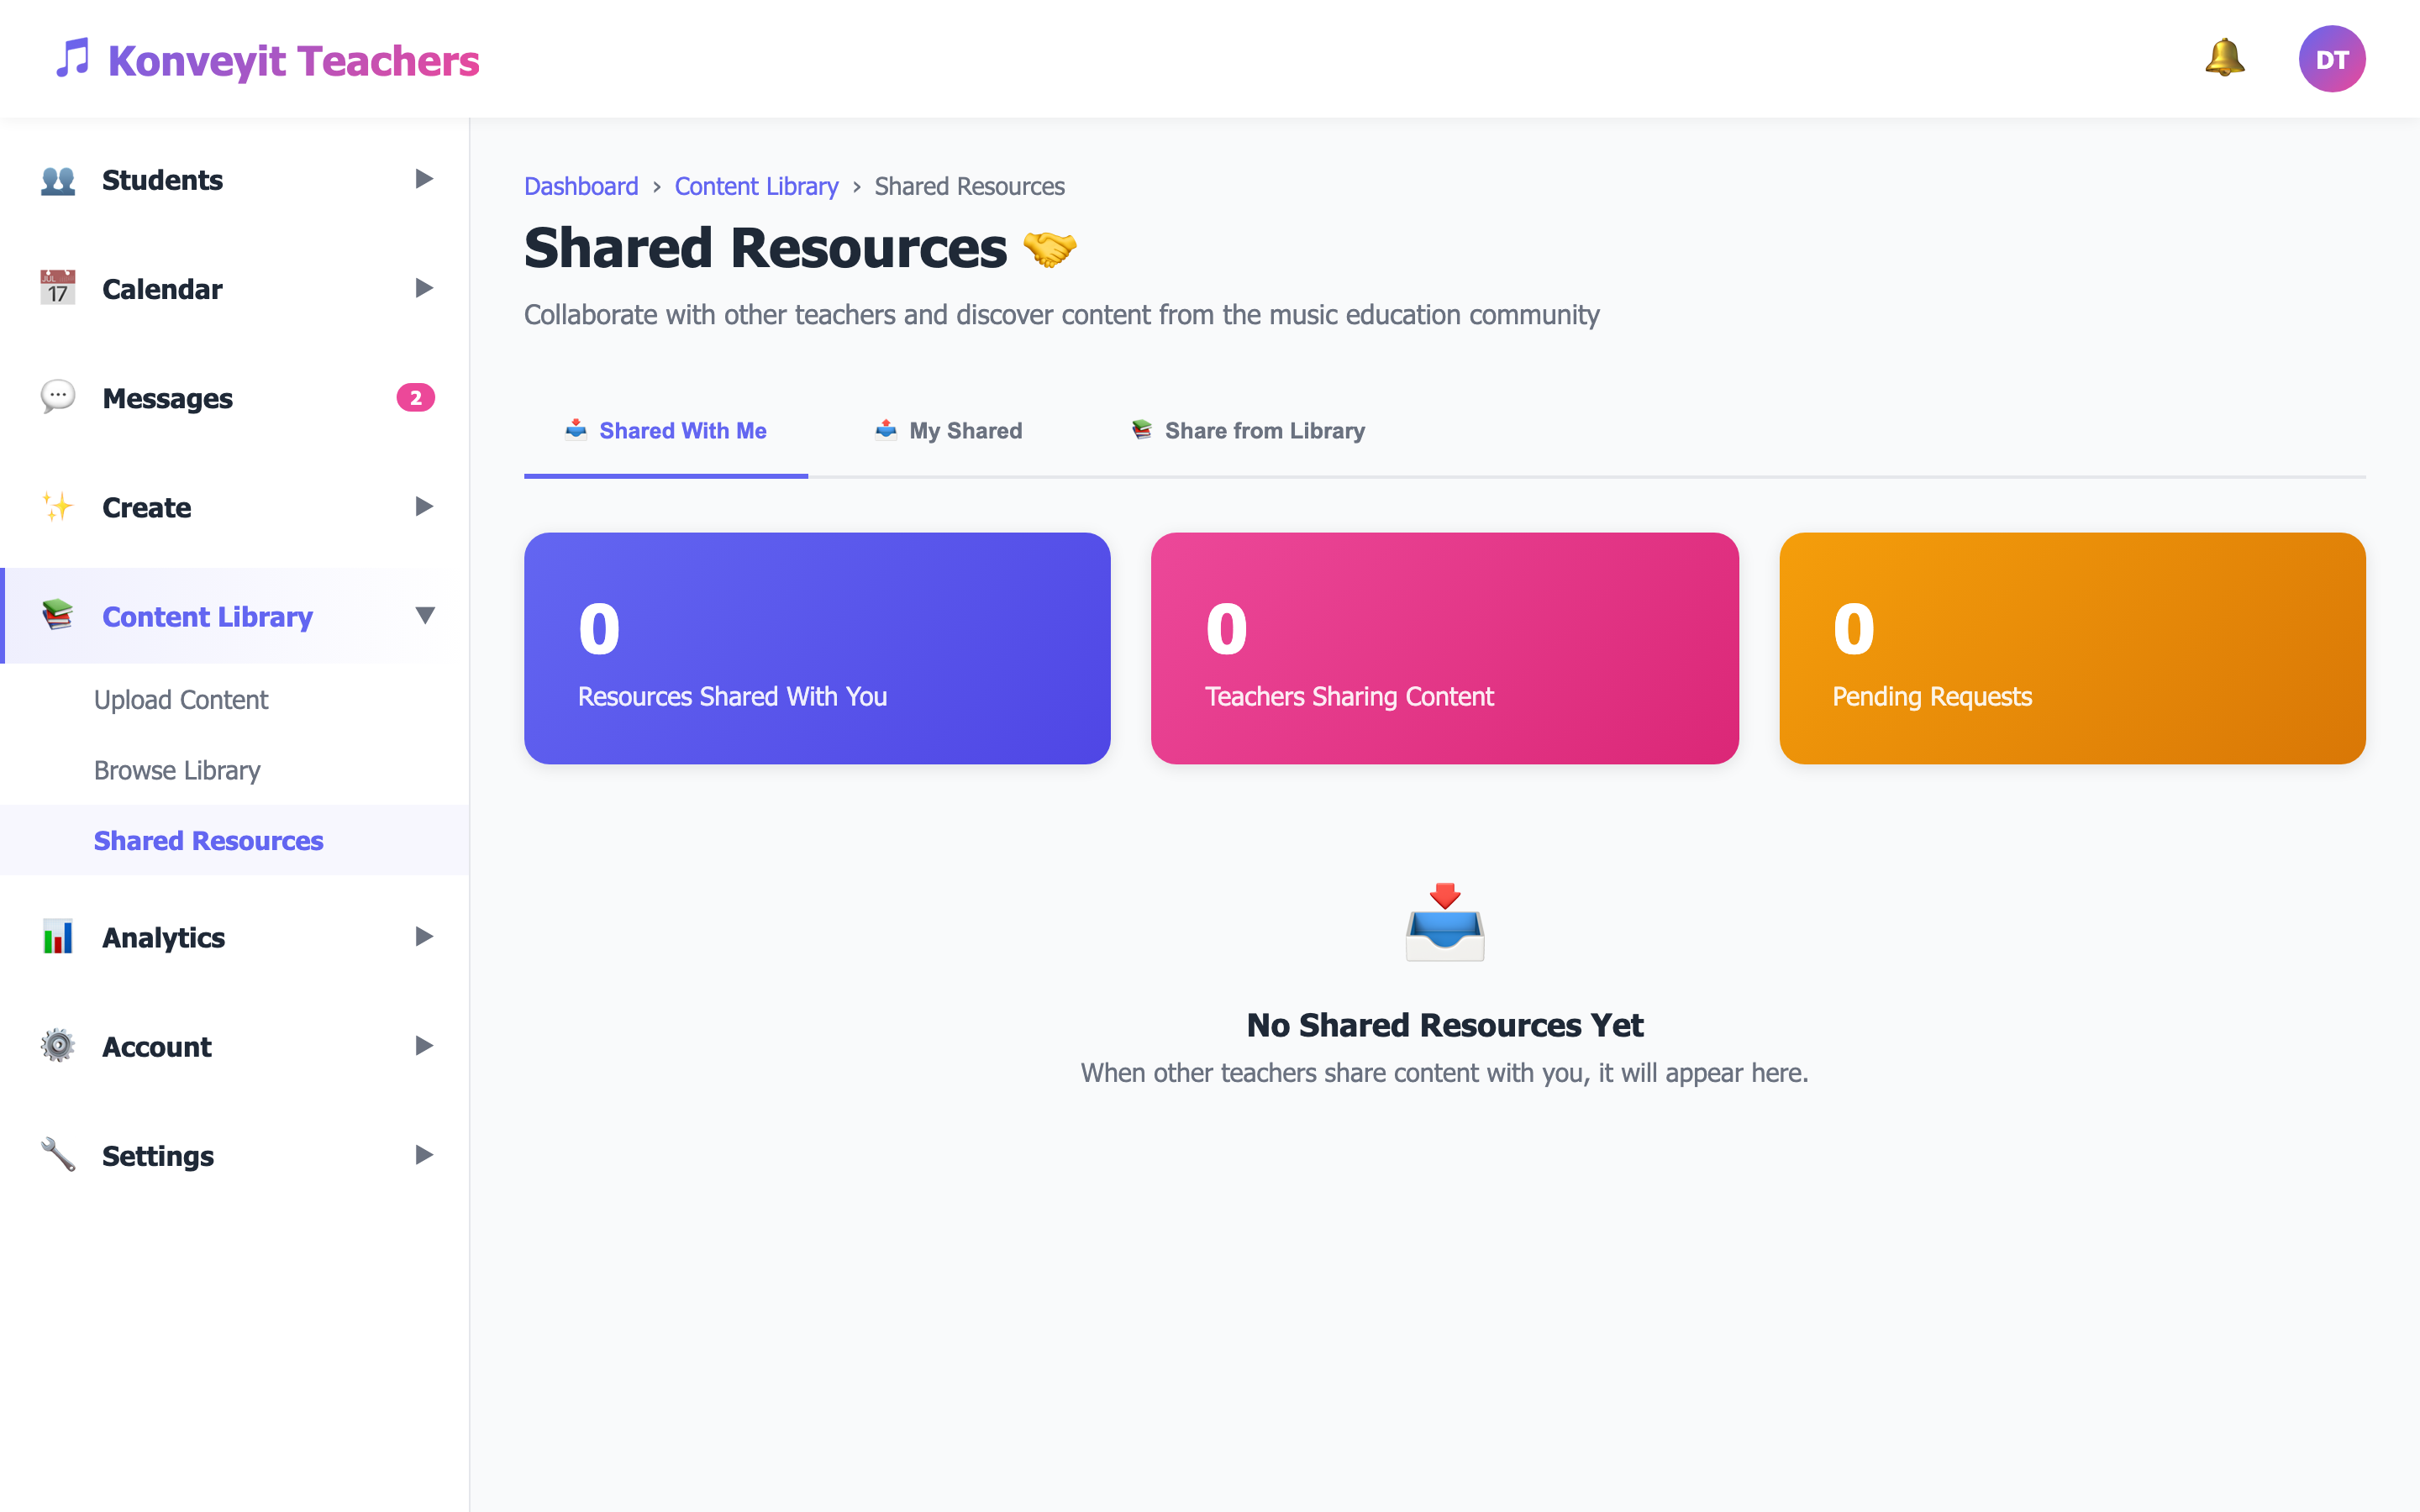
Tip: Create curated collections for different skill levels — beginner, intermediate, and advanced — to streamline content sharing.
6
Video Content and Recording
The platform includes built-in video recording capabilities. Go to Create > Video Lessons to record directly from your webcam, trim the video, add your logo overlay, and upload — all without leaving the platform. Recorded videos are automatically added to your Content Library and can be shared with students immediately.

Tip: Record short instructional clips between lessons to give students extra guidance on tricky passages or techniques.
7
Creating Lesson Plans with Content
Bring your content library together with Lesson Plans. Navigate to Create > Lesson Plans to build structured lesson outlines. Attach resources from your Content Library, add objectives and activities, and assign the lesson plan to specific students. Lesson plans help you stay organized and provide a clear roadmap for each lesson.
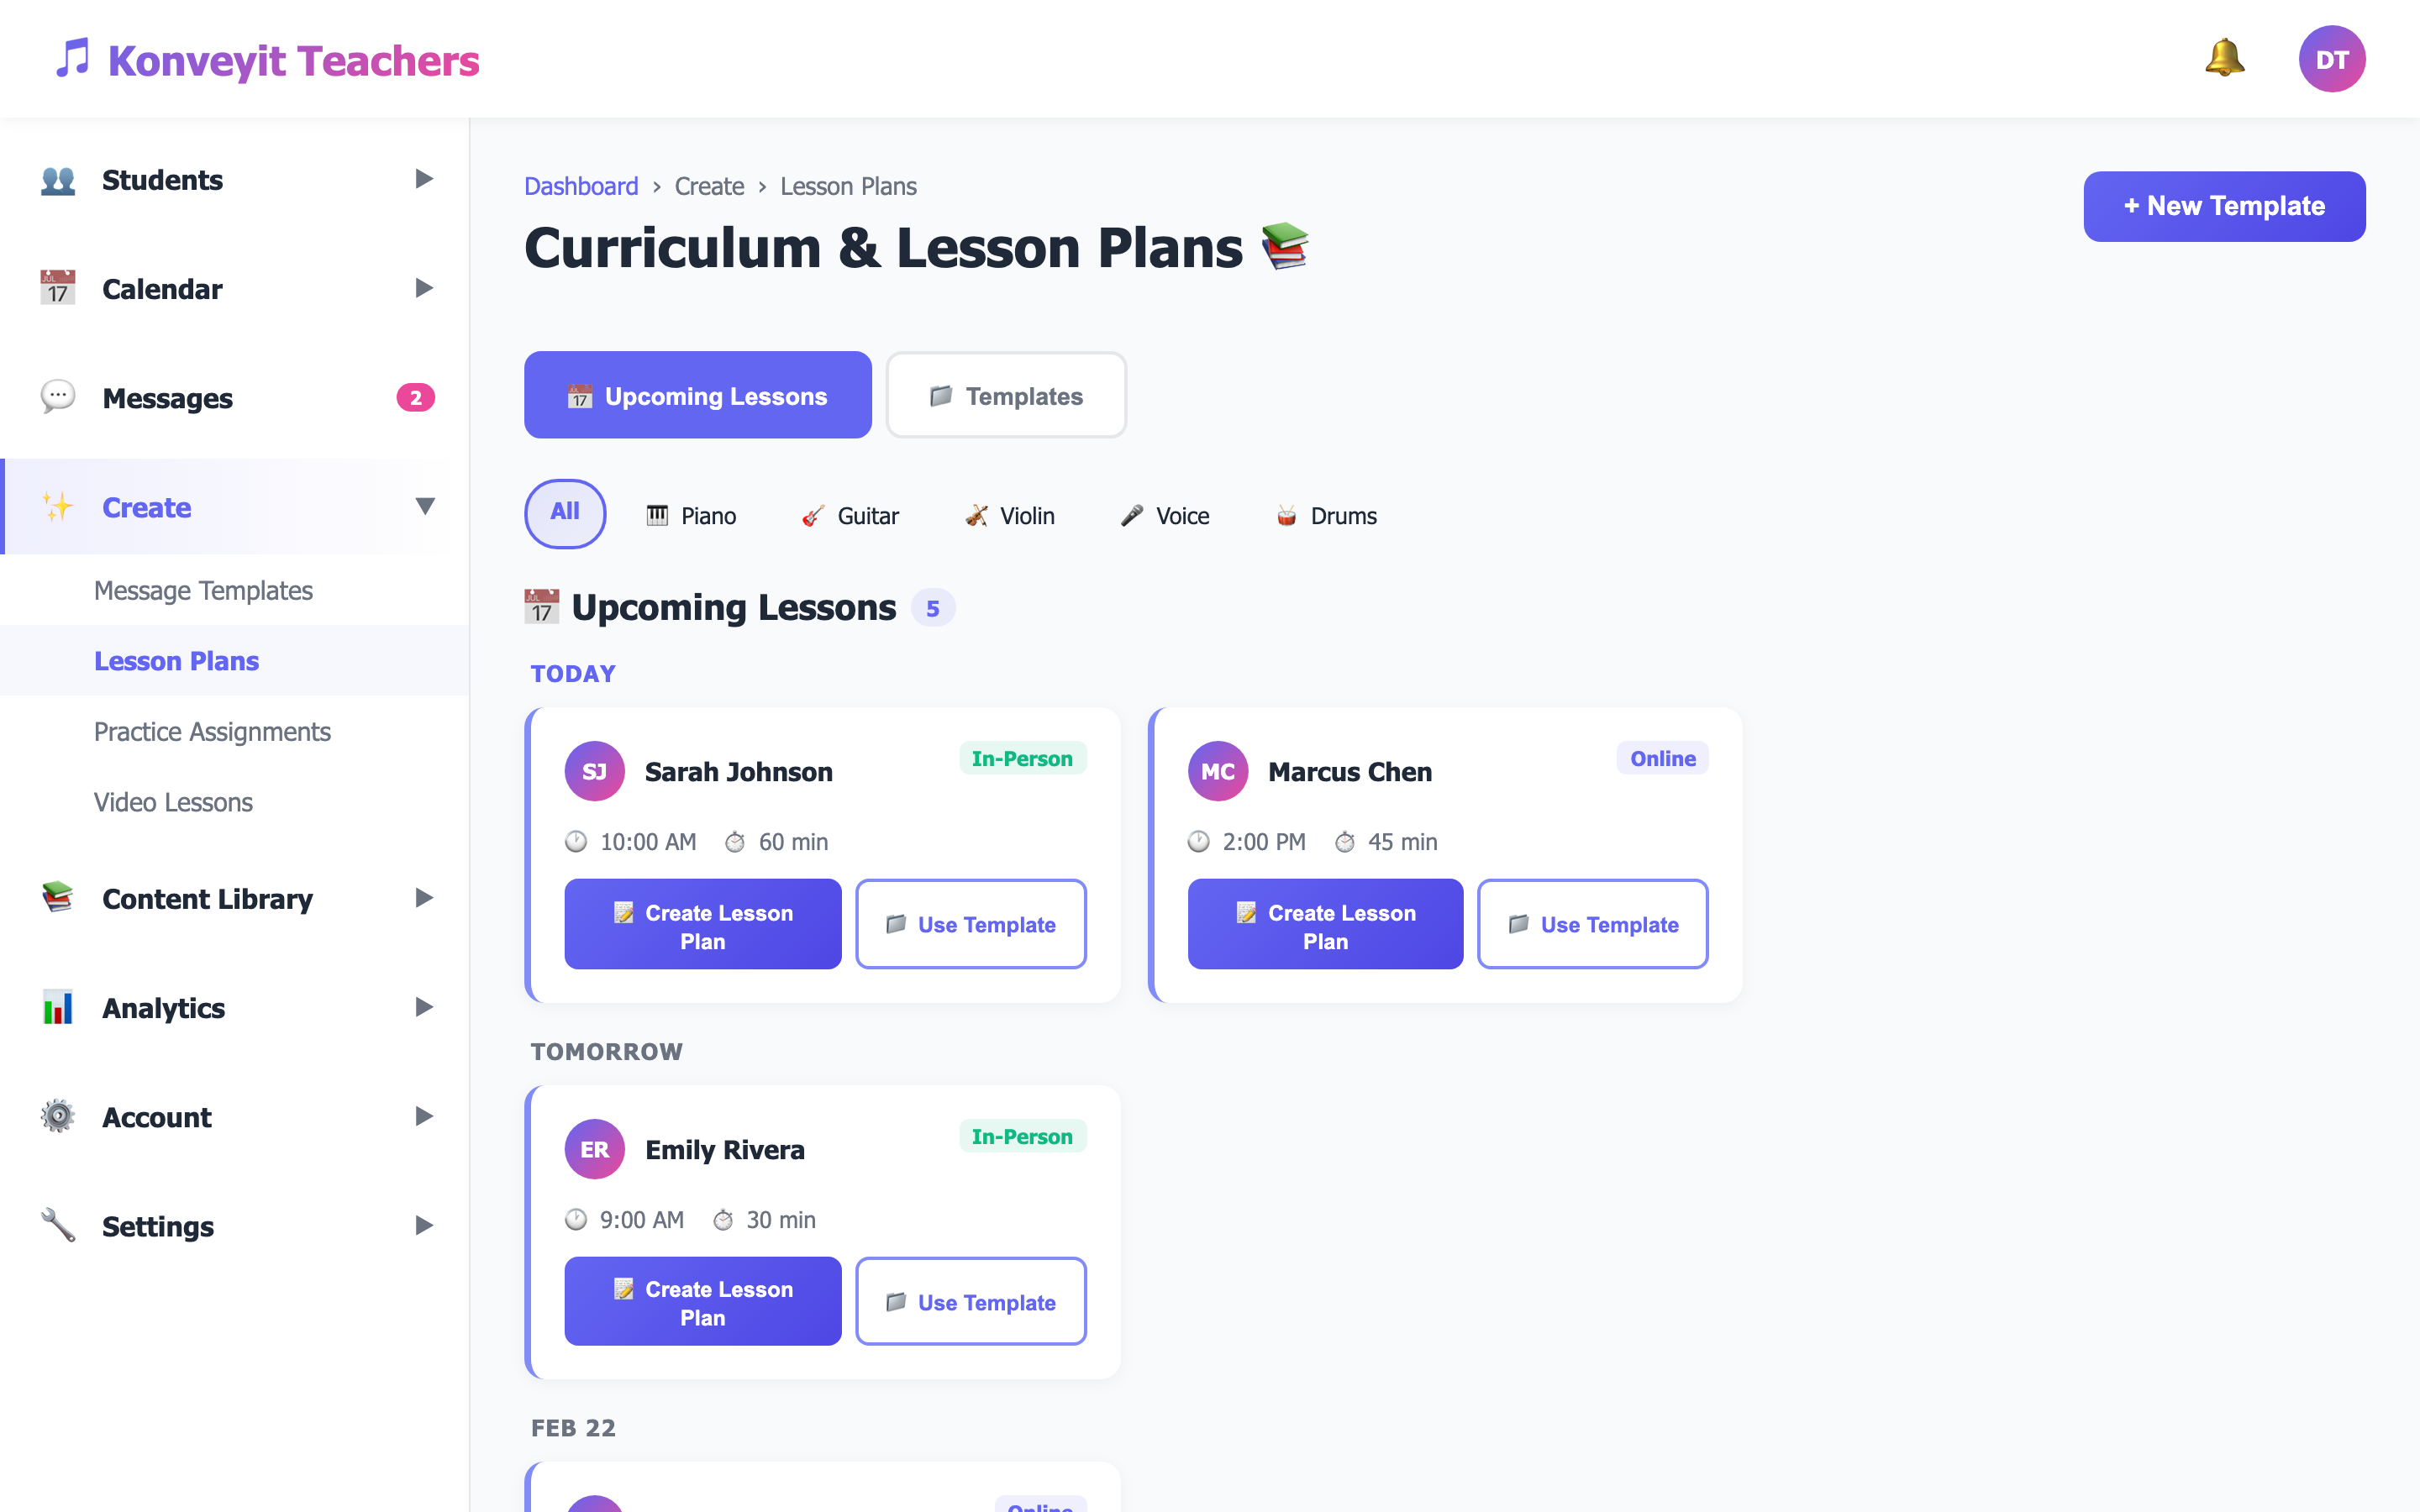
Tip: Save frequently used lesson structures as templates — you can duplicate and customize them for different students.